Step-By-Step Ring Doorbell Installation Guide
The Ring doorbell setup and installation process are pretty simple. But what if you are new to this? What if you are not a tech-savvy guy? No worries – Ring doorbell installation is easier than you think. You might be worried about the complexity of the setup, which is quite obvious. This page will walk you through the steps to set up and install your new doorbell. You don’t need to call an experienced technician to help you install your new doorbell. This step-by-step installation guide will help you learn the Ring doorbell login and the set up in the best way possible.
Ring doorbell installation
1. Collect tools for Ring doorbell setup
Ring doorbell comes with pretty much everything you would require to install your doorbell. The kit may contain a screwdriver, a charging cable, screws, and an installation guide.
Apart from these tools, you will need a drill machine if you want to screw your doorbell into brick. We also suggest that you have a flathead screwdriver handy in order to help you remove your old doorbell.
2. Charge your doorbell’s battery
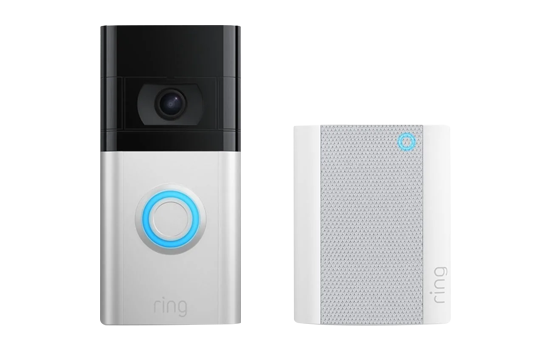
Once you have unboxed your Ring doorbell, look for the battery and plug it into the power socket using the charging cable that came with the box. It can be tricky to remove the battery from the Ring Doorbell 2 because it’s designed for easy pop-out after the doorbell has already been mounted.
We recommend that you hold your doorbell against a flat vertical surface or a wall in order to remove it. The wall will help you to push the battery out of your Ring Doorbell and it will drop down into your hand.
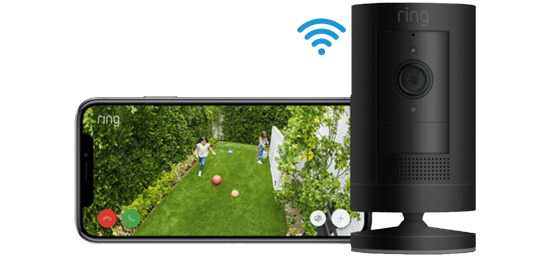
3. Internet connection
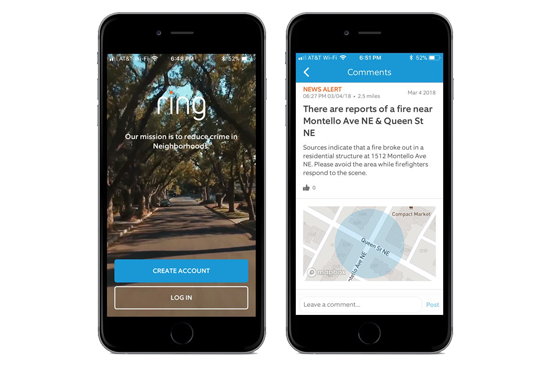
Download the Ring app on your mobile or tablet from the Play Store or App Store and follow the on-screen instructions to connect your doorbell to your home Wi-Fi network. The Ring app will walk you through the instructions and steps you need to perform, and it takes only about 10 minutes to finalize the Ring Doorbell installation and go about the Ring Doorbell setup.

4. Remove your old doorbell
In this step, you need to use a screwdriver in order to remove your old doorbell from its place. After that, you need to unscrew the old doorbell from the wall and pull it out with utmost care. Now the two power wires will be exposed.
The wires should still be curled around screws on the inside of the old doorbell. Make sure you stay careful with this part as you don’t want to damage these wires. Thereafter, loosen the screws to detach the wires and take the old doorbell off the wall completely.
5. Attach the mounting plate or bracket
This step will walk you through the steps to attach the mounting bracket to the wall. Make sure you open the Ring Doorbell app to watch the live video feed of the doorbell. That way, it will help you adjust the viewing angle perfectly well.
- Firstly, hold your doorbell against the surface over the hole in the same spot where you’re going to mount it. After that, check the live video feed in the Ring app to make sure you are getting the perfect viewing angle.
- Once you are done with the placement, make sure you use the leveler to ensure that the mounting bracket is straight. We suggest that you use a pencil to mark the place and then move to the next step.
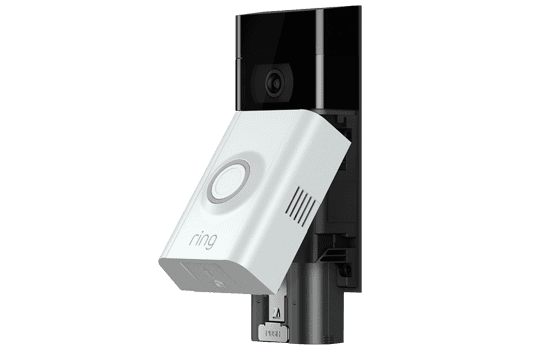
6. Mount your doorbell
Now you have finally reached the main part of the Ring Doorbell installation. In this step, you need to position your doorbell just above the mounting bracket and press in and down until it clicks into place. This step may ask a little bit of force from your side. Be careful and do not exert too much pressure on the mounting bracket or device.
7. Restore power
In this step, you need to flip that breaker switch again to make your Ring Doorbell live. Test it out and make sure everything is working perfectly well. If you have your doorbell wired to your interior chime and you notice that it’s not chiming, remove the faceplate of your doorbell and cross-check that all the connections and physical setup are secure.
You can screw the two included security screws into the underside of the faceplate if everything seems to be in the proper order. You can use the small end of the screwdriver that came with the doorbell package.
8. Ring Doorbell setup
Finally, you are done with the Ring Doorbell installation. Now, you need to use the Ring app to configure the settings of your device to your liking.
Does Ring Doorbell work without WiFi?
Ring Doorbell is one of the best smart home devices on the market. As we know that smart home devices require a stable internet connection to work prosperity. If the connection is interrupted or there’s no WiFi network around, these devices may not work properly. You may not be able to experience many benefits of your Ring Doorbell device.
Final thoughts
This post was all about the Ring Doorbell installation and Ring Doorbell setup. We framed this post in a step-by-step manner to help our users easily understand the process to install the Ring Doorbell device. We hope that this page helped you install and set up your device without any hassle. Make sure you download the latest version of the Ring app on your smartphone or tablet.
If you face any issues with your device or while attempting to install your doorbell, please feel free to reach out to our support team for more help.