The proper Ring floodlight camera installation is very significant. You can only make the most out of your floodlight camera by installing and setting it up. The Ring floodlight camera is a top-quality security camera with excellent video quality and several other features. What’s more, with the help of the floodlight, you can be sure to get a clear view. Therefore, you must install the Ring camera and set it up accurately to ensure a direct vision of your property.
The Ring floodlight cam installation steps for the Ring floodlight cam are simple. You can do it yourself with the help of the correct instructions. That’s why we have presented you with the ultimate guide to assist you with the Ring camera installation. This post will cover the whole procedure for the camera’s installation and setup.
Pre-Installation Requirements
Before proceeding with the Ring floodlight cam installation, you must be cautious of a few crucial things. These are as follows:
- Before you install the camera, power OFF the main fuse box.
- Ensure the supply of voltage is precise to avoid any short circuits.
- If not, connect the fixture to a 100-240 VAC 50/60 power source.
- You must connect the earth wire to the fixture. If there’s no earth wire, do not install it.
- Ensure to avoid linking the fixture to a dimmer switch or timer.
- Before you perform any electrical work, keep in mind any local laws.
These are some things you need to take care of before proceeding with the Ring floodlight cam installation.
Steps for the Ring Floodlight Camera Installation
Now we can install the Ring camera correctly. To install the camera, follow the instructions below:
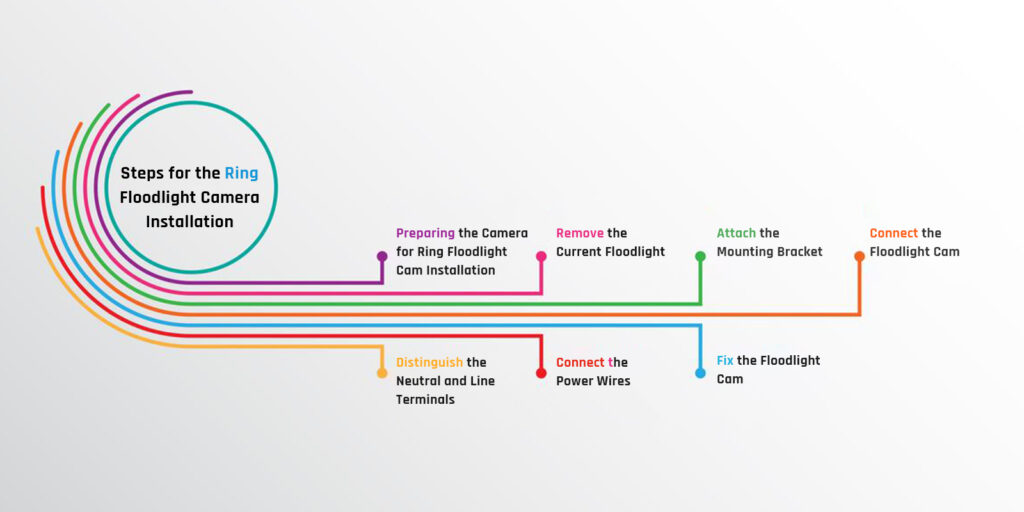
Preparing the Camera for Ring Floodlight Cam Installation
- The first step is to shut OFF the power of the floodlight circuit.
- Now, unfasten the fixtures knob to circle them out, and attach the mounting screws.
- Make sure you do not remove the floodlight camera from the base socket.
- After that, revolve the camera at 180 degrees, as the cam should be upside down on the fixture.
Remove the Current Floodlight
- While the power is OFF, remove the existing floodlight from the wall.
- After removing the floodlight cam, carefully disconnect the wires.
- You must detach the bracket from the wall as well if there is one.
Attach the Mounting Bracket
- Now, it’s time to install the mounting bracket for the camera.
- To begin with, pierce a hole in the gasket and pass the wires through them.
- Hereon, you can fix the mounting bracket using the posts to level it with the ground.
Connect the Floodlight Cam
- Further, with the help of a given hook, you can hang the floodlight.
- To do this, hang one end in the camera’s mounting holes.
- Hereon, hang the other end in the bracket’s small hole.
- After that, you can connect the earth wire to the camera’s earth post.
- For a proper Ring Floodlight camera installation, this step is crucial.
Distinguish the Neutral and Line Terminals
- Now, you need to figure out the neutral and the line terminals.
- The neutral terminals are marked (N) and the line terminals (L).
- You must recognize the wires correctly.
- If you are having trouble, you can consult an electrician.
Connect the Power Wires
- Now that you know the correct wires, you can proceed further.
- Connect the line and terminal wires from the wall to the terminals on the floodlight cam.
- Ensure to fox them effectively using a small flathead screwdriver.
- When you’re done with this, you can fix the wire connector onto the bracket’s base.
- To ensure an effective Ring floodlight cam installation, you must proceed with this carefully.
Fix the Floodlight Cam
- Now, ensure to secure the wires behind the floodlight camera.
- After that, position the mounting posts with the floodlight camera’s holes and press them.
- Ensure to fix the screw cap nuts using the orange screwdriver handle.
- Finally, you can turn the power back ON, and you will hear a voice command, saying that the camera is in setup mode.
These are the steps for the Ring floodlight camera installation. Now, we can set up the camera and configure it accurately.
Procedure for the Ring Floodlight Camera Setup
After installing the Ring floodlight camera, we can set it up. It is very significant to set up the camera, as you can only access its features from the admin panel. After setting up the camera, you can watch the live stream from anywhere and anytime. You can also check if the camera is installed effectively or not and adjust its view accordingly. The steps for the setup are as follows:
- Primarily, install the Ring app on your mobile phone.
- The Ring app is available on both App Store as well as Play Store.
- You can also visit the ring.com address on your device.
- Now, open the app and click the ‘Create Account’ option.
- If you already have your account, you can log into it as well.
- Ensure you are using the correct login credentials.
- When you are logged in, tap the ‘Set Up a Device’ option.
- After that, from ‘Security Cams’ select your device model.
- Now, tap ‘I’m Ready to Scan’ and scan the QR code on the camera.
- When the app identifies the code, a green square will display on the screen.
- You can also add the device manually by entering the code.
- Hereon, you need to enter your location in the app.
- If you do not, you will not be able to access certain features of the app.
- Further, you can enter a name for the device to distinguish it from other devices.
Additional Ring Floodlight Cam Setup Steps
- Now, you can also proceed with the Ring floodlight cam installation using the in-app instructions as well.
- After that, you need to put the device into set-up mode by pressing the button on top of the camera.
- When the white light on the bottom is blinking white, tap ‘Continue’ on the app.
- Hereon, the Floodlight cam should automatically connect to the Ring WiFi network.
- If it doesn’t you can manually connect the camera to the Ring WiFi.
- Following, select your WiFi network, and enter the password to form a connection.
- At last, you can test the device, and check the view.
These are the steps for the Ring floodlight camera setup. Ensure to follow the steps accurately to set up the camera efficiently.
Conclusion
We hope you were able to understand the Ring floodlight camera installation along with its setup. If there are any problems you are having with either of the procedures, you can get in touch with our team right now!